 |
USE Virtual Private
Networks ( VPN ) TO PROTECT YOURSELF FROM ONLINE
HARASSMENT, POTENTIAL LAWSUITS, AND DISABLE P2P THROTTLING. |
|
|
|
Configure VPN Connection Introduction on
Windows XP or Windows 2000
(
Configure VPN
Connection Introduction on Windows Vista Click Here )
(
Configure VPN
Connection Introduction on Mac OS X 10.5.X
Click Here )
(
Configure VPN Connection
Introduction on Mac OSX Click Here )
(
Configure VPN
Connection Introduction on Linux OS
Click Here ) |
| In this article we will
learn how to configure a connection to a virtual private network (VPN)
using Windows XP. This article will show you how to create a new VPN
connection using Microsoft Windows XP. By creating an encryption tunnel
through the Internet, data can be passed safely. |
|
VPN Overview |
A VPN is a private network
created over a public one. It’s done with encryption, this way,
your data is encapsulated and secure in transit – this creates
the ‘virtual’ tunnel. A VPN is a method of connecting to a
private network by a public network like the Internet. An
internet connection in a company is common. An Internet
connection in a Home is common too. With both of these, you
could create an encrypted tunnel between them and pass traffic,
safely - securely.
If you want to create a VPN connection you will have to use
encryption to make sure that others cannot intercept the data in
transit while traversing the Internet. Windows XP provides a
certain level of security by using Point-to-Point Tunneling
Protocol (PPTP) or Layer Two Tunneling Protocol (L2TP). They are
both considered tunneling protocols – simply because they create
that virtual tunnel just discussed, by applying encryption.
|
|
|
Configure a VPN with Windows XP |
If you want to configure a VPN
connection from a Windows XP client computer you only need what
comes with the Operating System itself, it's all built right in.
To set up a connection to a VPN, do the following:
| 1. Click Start, and then click
Control Panel. |
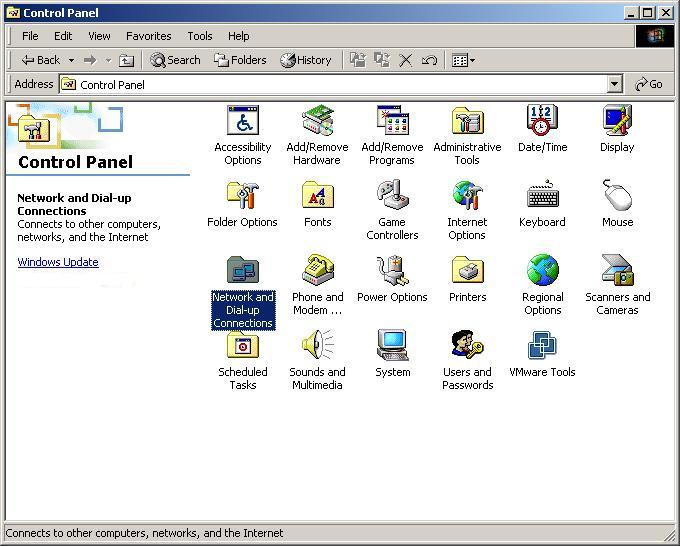 |
| 2. In Control Panel, double click Network
Connections |
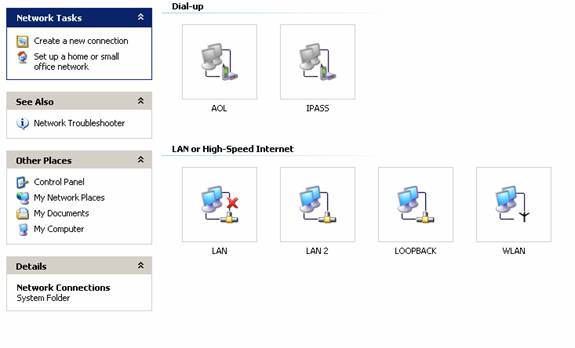 |
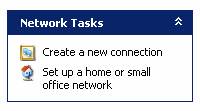
| 3. Click Create a new connection in the Network
Tasks task pad |
 |
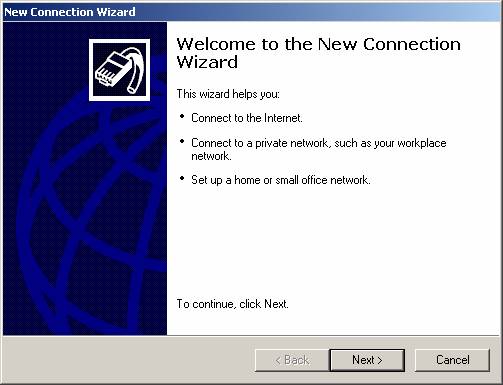
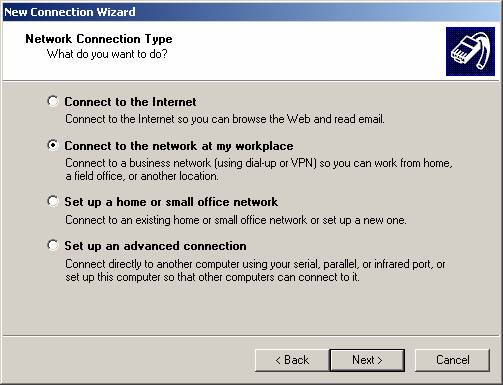
| 4. In the Network Connection Wizard, click Next |
 |
| 5. Click Connect to the network at my workplace,
and then click Next |
 |
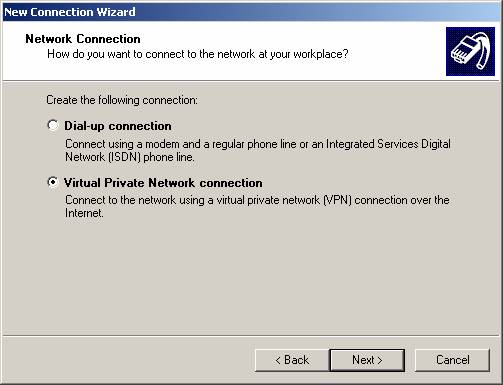
| 6. Click Virtual Private Network connection, and
then click Next |
 |
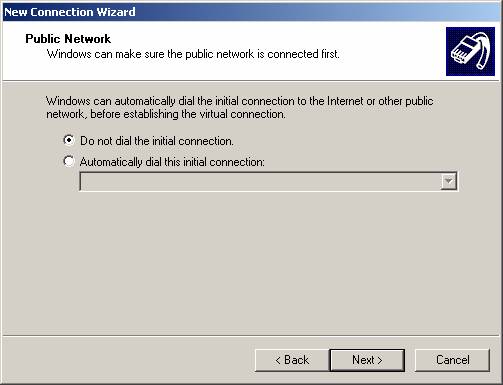
| 7. If you are prompted, you need to select
whether you will use a dialup connection or if you have
a dedicated connection to the Internet either via Cable,
DSL, T1, Satellite, etc. Click Next |
 |
| 8. Type a host name, IP or any other description
you would like to appear in the Network Connections
area. You can change this later if you want. Click Next |
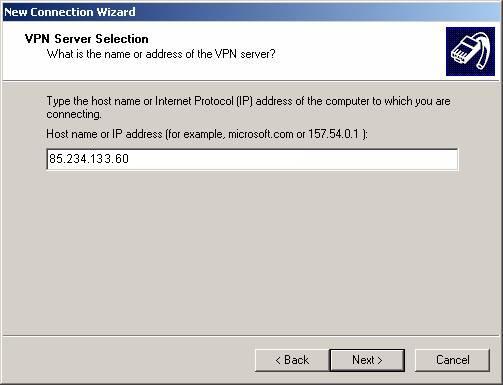
| 9. Type IP address of our VPN server that we
provide to you. Click Next |
 |
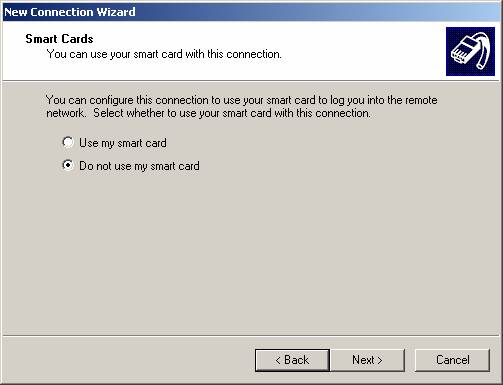
| 10. You may be asked if you want to use a Smart
Card or not |
 |
| 11. You are just about done, the rest of the
screens just verify your connection, click Next |
| 12. Click to select the Add a shortcut to this
connection to my desktop check box if you want one, if
not, then leave it unchecked and click finish |
 |
| 13. You are now done making your connection, but
by default, it may try to connect. |
|
|
|
Connecting to
VPN server |
Now that you have your VPN
client all set up and ready, the next step is to attempt a
connection to VPN server. To use the connection follow these
simple steps. To open the client again, go back to the Network
Connections dialog box.
| 1. One you are in the Network Connection dialog
box, double-click, or right click and select ‘Connect’
from the menu |
 |
| 2. Type your user name and password, and then
click Connect. |
| 3. To disconnect from a VPN connection,
right-click the icon for the connection, and then click
“Disconnect” |
|
|
|
|